Some News!

Hi Readers!

I know I have been away forever… I apologise!

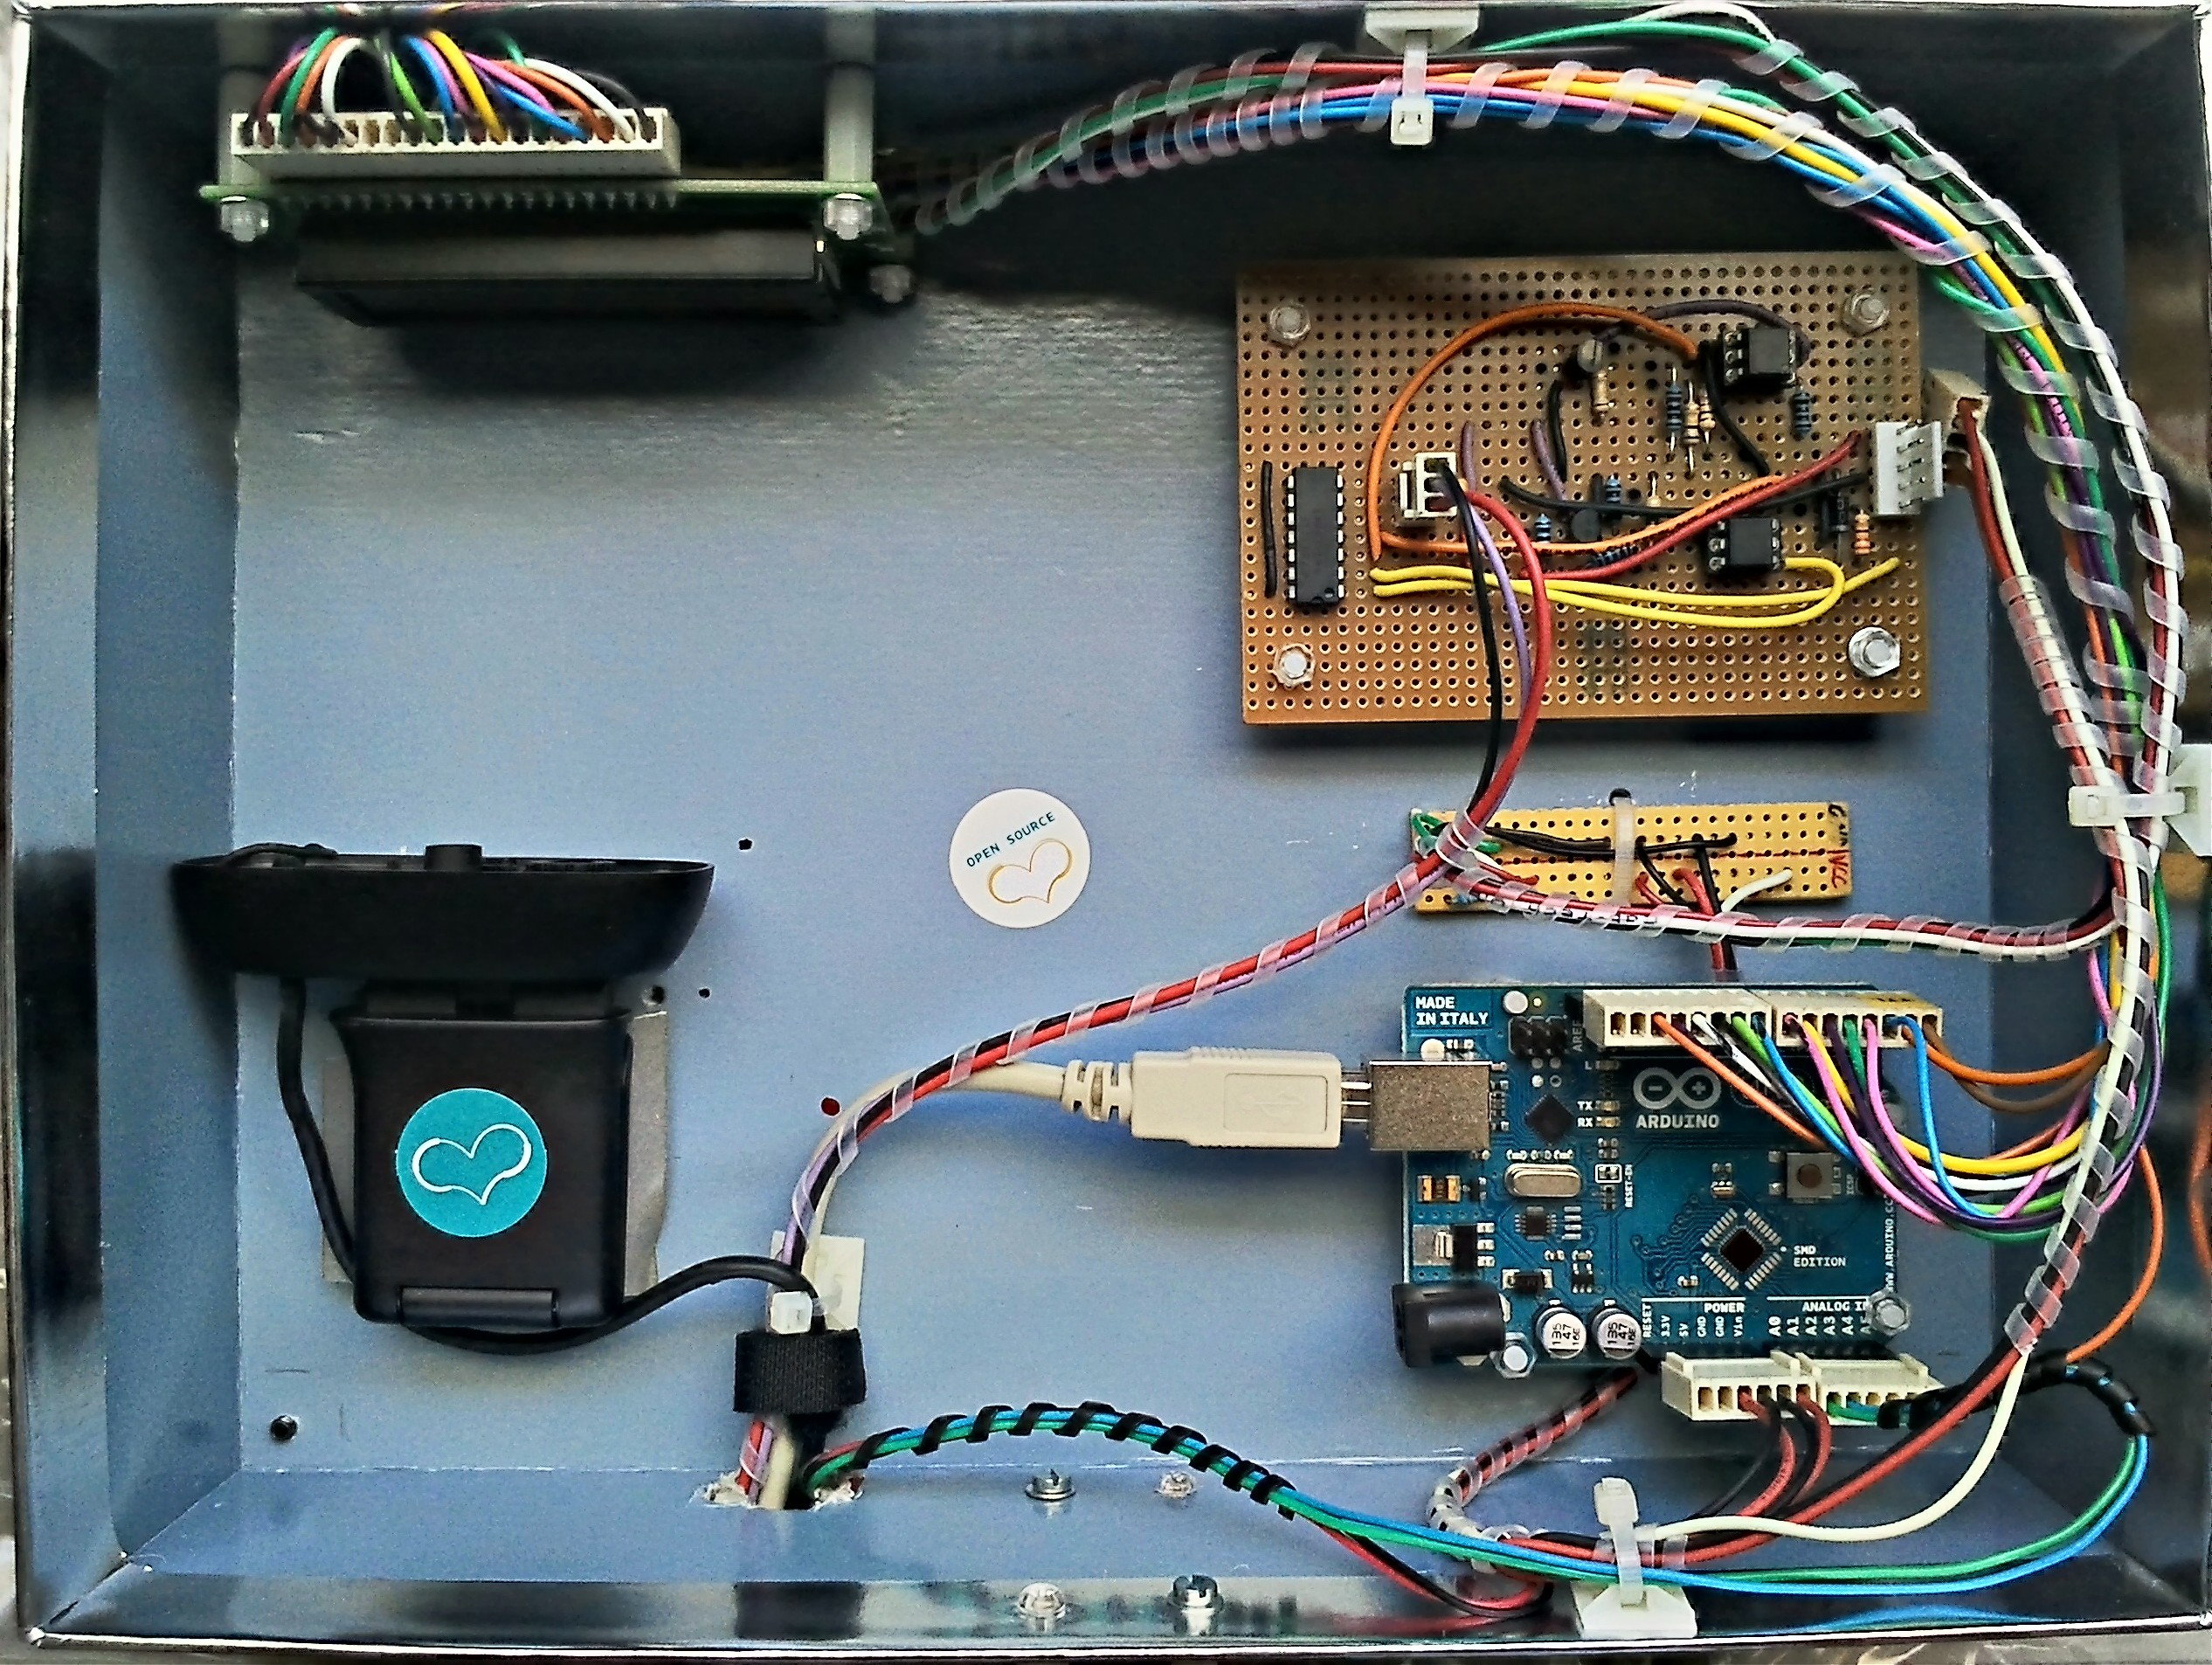
I recently received the L9637D IC, from ST Microelectronics. It is essentially the giant ugly circuit I built, which interfaces with the ECU’s K-line, in one small IC! So cool!

I will be using it soon because the K-line circuit I built is too bulky (and ugly) in comparison.

I still have not purchased a bigger display, however, I have decided to rethink this whole project and my conclusion is that I want to use a different microcontroller to redo the project. The big question is which one, options are PIC and ARM.

I could stay with Arduino (AVR) but I will be working with ARM and PIC development boards this year and I want to expand my knowledge regarding both. I also want to experiment with real-time operating systems.

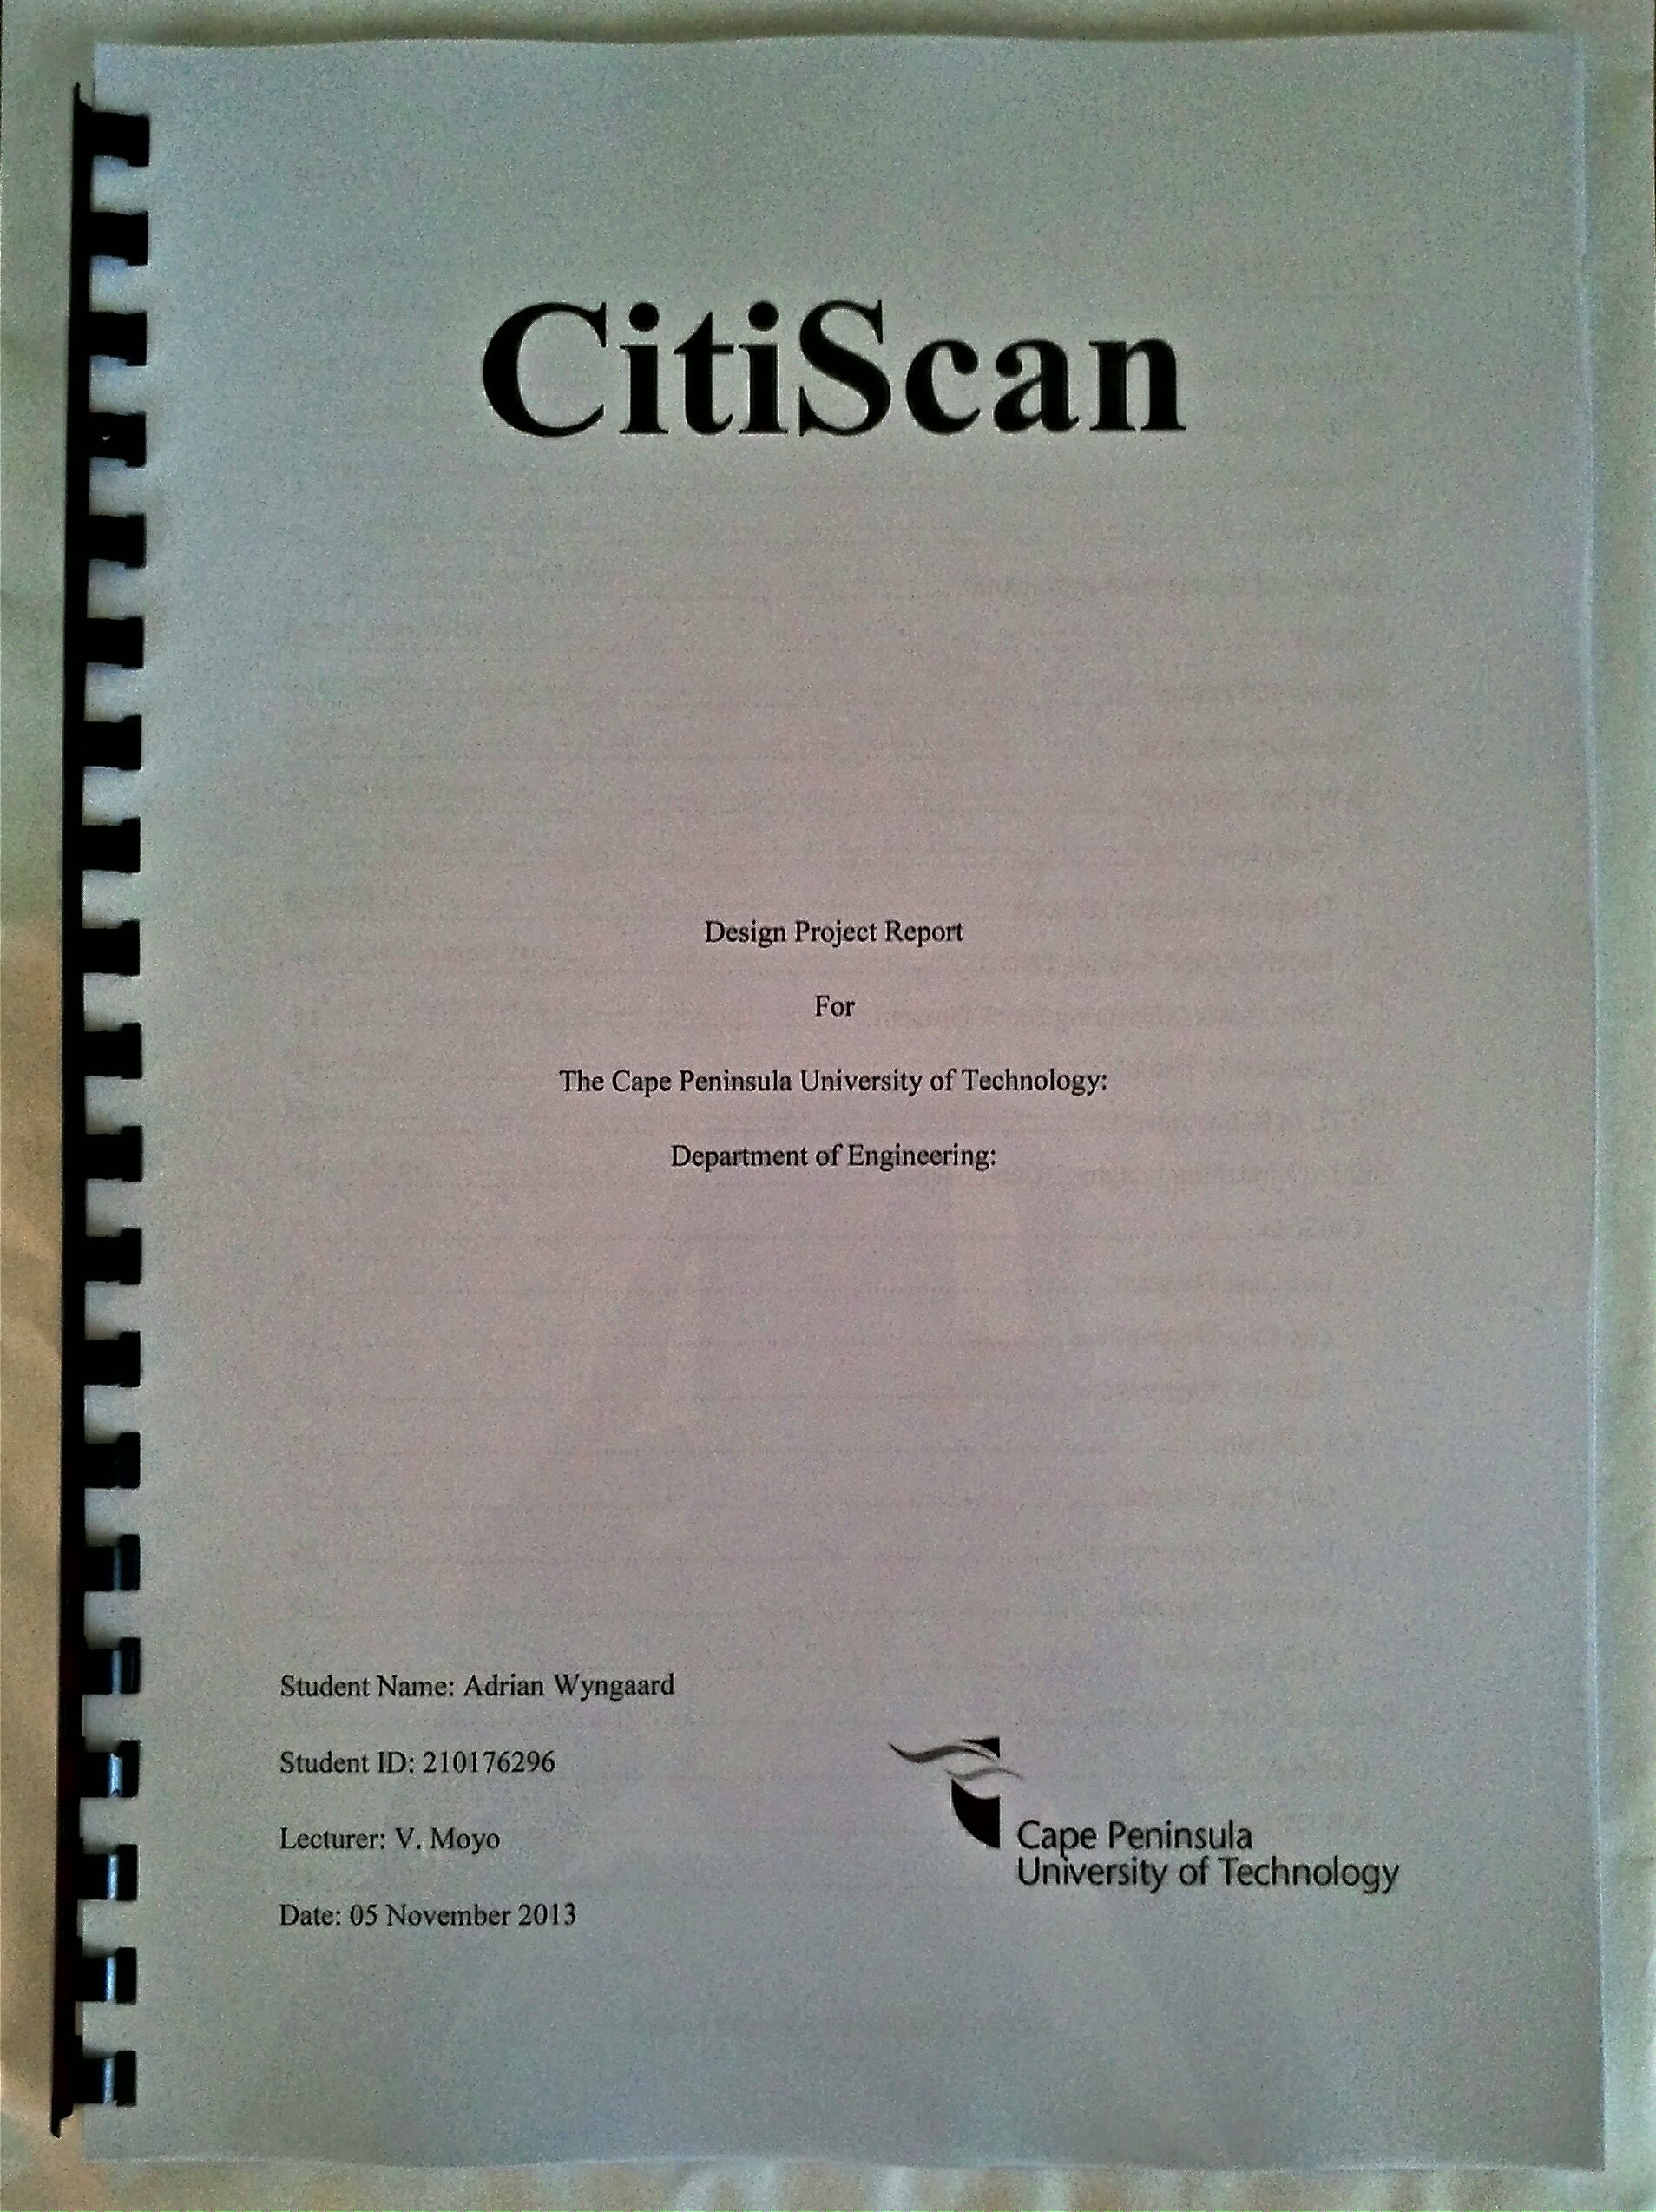
Oh and before I forget again, my final mark for this project was 76%. I think that is a decent mark.

I hope that was enough of an update? 🙂

I’ll be back soon!

Happy New Year!

Hello readers,

Happy new year to you all!

I wish you further success in your future endeavours for 2014.

I have lots planned for 2014 but it will be a very slow progression, once again. I will be doing a very interesting project for my final year at university, assuming the project is allowed, and I will be updating it’s progress here instead of creating a new diary/blog.

I hope you continue to follow this diary/blog even after you have built your own KW1281 diagnostic tool.

I do plan to continue improving the CitiScan system, however unnecessary that may seem. I feel it is still very basic and I hate basic.

I will add photo’s of the new menu system for CitiScan as soon as I receive the display. For now I will just add photo’s of the new functions on the original display.

Some downloads are now  available, go have a look, sorry for the wait.

Cheers!

Update: 18/11/2013

Sadly, this blog has been quite dead for the past week. Apologies!

I have finals (exams) this month so no development has been taking place.

I am also patiently awaiting my results for this project, hopefully nothing below 70%. It’s worthy of above 75% but may be lower thanks to my dislike towards the UML components of the documentation.

Development will continue. First thing to do would be the menu system, it’s 80% complete at the moment. Second is adding more functions and, lastly, getting my hands on the new (bigger) displays.

I will also be adding the incomplete links in the Downloads section.

In the meantime, for all you racing enthusiasts, check out the entertaining and insightful videos over at TheRaceCube!

Be back in December 🙂 Cheers!

Video Demonstration (updated 10/11/2013)

Today I realised that I have no real way of showing my readers how CitiScan works in a car.

So, I plan to record and upload a short video of it in action.Nothing fancy, just proof that it’s real and working!

It should be uploaded by Sunday, for the latest. It’s up!

Please understand that the proper menu system is still under development. I had to make a very basic one to ensure all functions work.

99.99%

My project is officially complete!

I’m ready to wow the crowd tomorrow, well, I think I am.

Here’s the checklist:

  • Shiny, for extra points

Image

  • Elegant, for even more points

Image

  • Protected against all elements

Image

  • Documented, for all the bookworms out there

Image

Anything missing? 🙂

I hope not.

I did notice the erroneous colon at the 5th line of the report’s cover but it’s such a small detail and I shall just leave it as is, 99.99% perfect.

Wish me luck and thanks for following me on this journey!

I will be updating this blog regularly after the presentation is complete. The aim is to perfect this system.

There Is Light At The End Of The Tunnel!

It’s all coming together!

I have finally completed all the necessary hardware and software elements. Now for the last bit, completing all those dreaded documents explaining what this system does and why it is just pure awesomeness.

To those who are old and half-blind, I know the LCD is tiny but it is fine for now. I have much bigger plans once I get this project assessed, results are critical!

Now for some well-deserved rest… Goodnight World!


Super-Awesome PSP controller: 

Image


ISO 9141-2 (K-line) to UART interface: 

Image

(Adapted from Jeff Noxon’s – http://jeff.noxon.cc/2013/05/18/opendiag-obd-ii-schematics-pcb-layout/)


Arduino Uno:

Image 


122 x 32 Graphical LCD module: 

Image  


Demo setup in progress:

Image 


The completed demo setup:

Image 

Image


That GLCD once again:

Image 


The finalised GUI:

 Image


Logitech C270 webcam – adjustable focus

As you know, I required a (mobile) video source for my live demonstration. After trying all the cameras in the house and even attempting to use my mobile phone as an IP camera, I decided to bite the bullet and purchase the cheapest HD webcam available.

Behold, the (brilliant) Logitech C270 HD Webcam!
Image

At R260, it was the obvious choice.

However, the main reason I bought it was for the ability to adjust the focus. Many would not know this was possible unless they opened it and said bye-bye to their warranty.

I needed one that was adjustable because the subject (LCD) would be really close up (8-12 cm) and most webcams within my budget could not focus on something that near. Another problem was that certain webcams didn’t allow the focus to be adjusted at all, thankfully this one did.

So, without rambling on, here is the process:

1. Remove that boring face plate.

Image

2. Remove the 3 screws holding back the next cover.

Image

3. Remove the 2 screws holding the PCB in place. (already removed in photo)

Image

4. Lift the PCB slightly and locate the blob of glue holding the lens at it’s position. (blob is shown in photo below)

Found it? Good! Scrape it out!

Image

5. Enjoy! But be careful, that lens can come all the way out!

Do not twist it until it comes off! Doing so will expose the CMOS sensor.

This is a sensitive device and if you get anything on it, you will most likely damage it trying to remove it.

I know, you’re interested to see this sensor now that I have mentioned it. I have taken a photo of it for your pleasure.

Image

Here are 2 shots at the different distances, possible only by adjusting the focus.

2cm:

Image

6.5cm:

Image

Image

KW1281 Protocol Simulator Complete!

Wow! Almost a month since the last update. Anyway…

Image

Although CitiScan is an in-car system, it’s functions must be demonstrated during a presentation. This is possible through a pre-recorded video but many may argue that the video is “edited”.

For that reason, I decided to develop a software application that simulates the Keyword 1281 protocol which my car’s ECU uses to communicate with CitiScan.

The, Java based, software employs an in-frame webcam (thanks to Bartosz Firyn – http://webcam-capture.sarxos.pl/) which is necessary for the audience to view the changes (on the LCD). It also makes use of the 64-bit build of RXTX (thanks to Mfizz Inc. – http://mfizz.com/oss/rxtx-for-java and the developers of RXTX – http://rxtx.qbang.org/wiki/index.php/Main_Page), which enables serial communications via a USB port.

Unfortunately, a computer system is not as fast as the microcontroller/ECU because of all the background processes. This means that the updates take up to 4 or more times longer to appear than when CitiScan is communicating in a vehicle (200 or more milliseconds vs 1 or more seconds).

Although this application was not entirely necessary, it was a good challenge and I am proud of what I have developed. It was not an easy task! There were many sleepless nights and procrastinating “thinking” breaks, haha. There is room for improvement but it is good enough for now.

I look forward to the day it is put through it’s paces but until then, it’s tons of documentation to complete (sigh). 

P.S. Thanks to Sean Wyngaard for allowing me to test my software with his external webcam.